Rubbermaid All Access Organizer - Rack Conversion
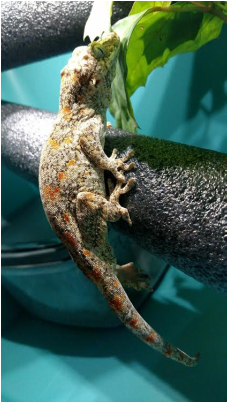
After stacking bins and fighting with lids I finally decided that there had to be a better option available for housing my Gargoyle Gecko collection. After browsing online and stealing ideas from a few friends I finally came up with a suitable solution. Finally a cheap functional alternative to standard Rubbermaid bins!
Rubbermaid All Access Organizers can be ordered in a variety of colors and sizes. For my application I used the Large unit and chose to go with the Teal color option.
The supplies used in the construction of these units were purchased from online retailers listed below and my local home improvement store.
www.roundvents.com
www.superbrightleds.com
www.homedepot.com
|
Tools Needed -
|
Supplies Needed Per Unit -
|
Vent Installation
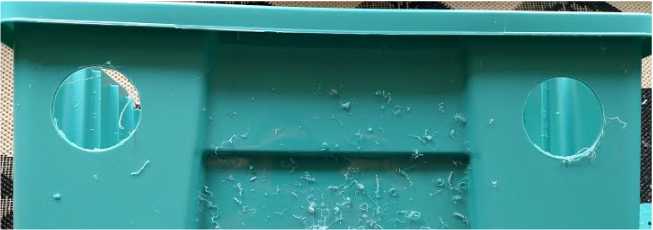
In order to prep the containers for vent installation I first had to make a few holes. Starting with the container itself I estimated where I wanted my vents located and measured to center them up. I then used a 2 1/2" hole saw to drill my holes. Warning: This part is a bit messy. To make things worse I had a helper.
|
|

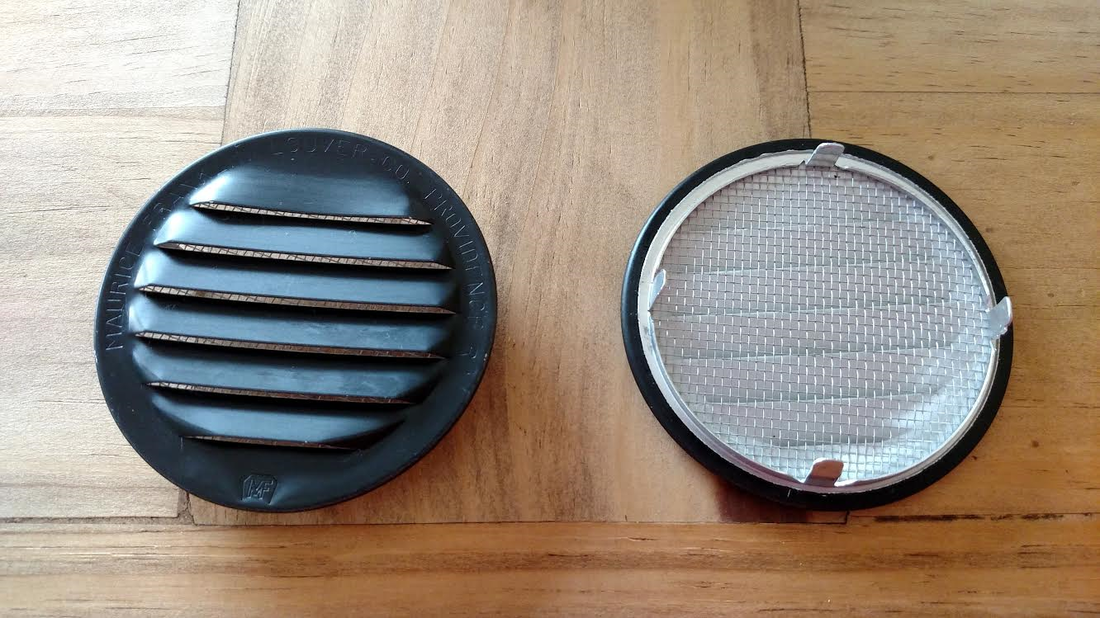
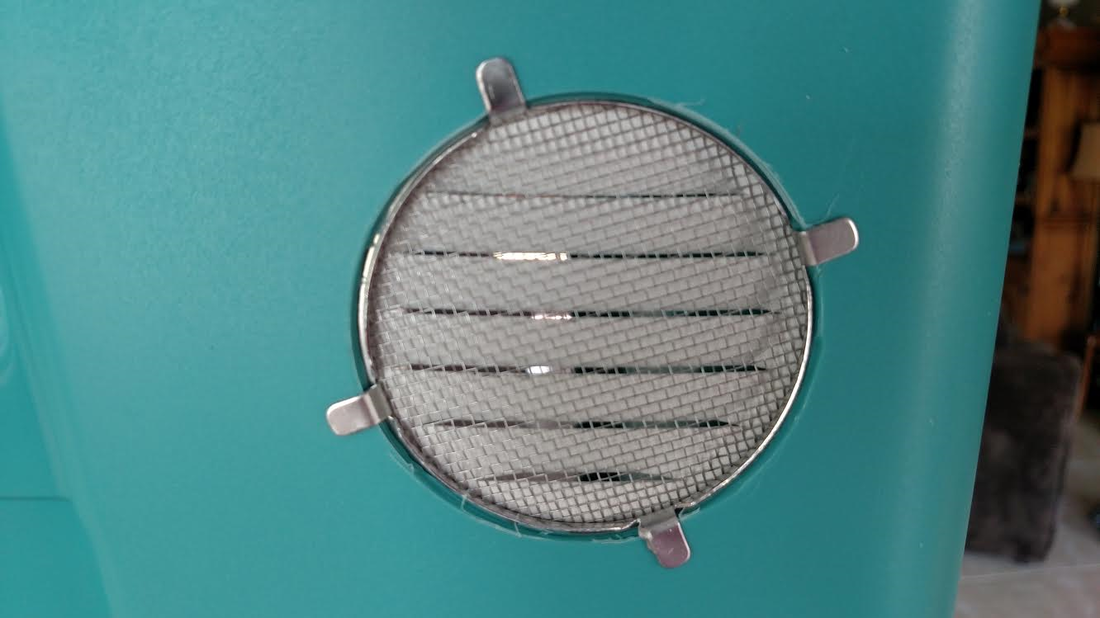
Before installing the vents I used a razorblade to clean up any plastic that was sticking out or blocking the vents from seating properly. Once they were in place and positioned correctly I bent the installation tabs.
Lighting Installation
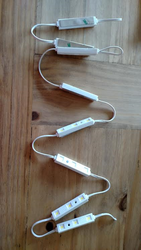
The LED lights I chose to use came in a rope format. For my application I only need 2 lights per container so using needle nose pliers I cut between every other light. Once cut to length I split one end with a razorblade and removed around 1/4" of the plastic coating to expose the wire. Next I located the center of my lid and placed the lights where I wanted them in order to get a rough idea of where to drill holes for the wires to run through. Once this was figured out I drilled my holes using a 9/64" bit. Next I inserted the exposed end of wire through the inside of the lid and out the top. The lights come with the wires labeled as negative and positive. After properly inserting the wires into the Female Connecter I then used a small Phillips Head Screwdriver to tighten the clamps into place. After that I ran the other wire through the lid and capped it off with a wire nut. Once this was complete I removed the adhesive backing and stuck my lights in place.
Lock Installation
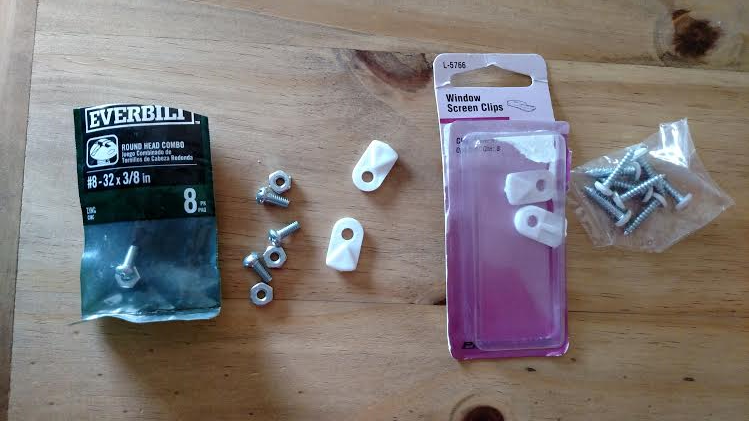
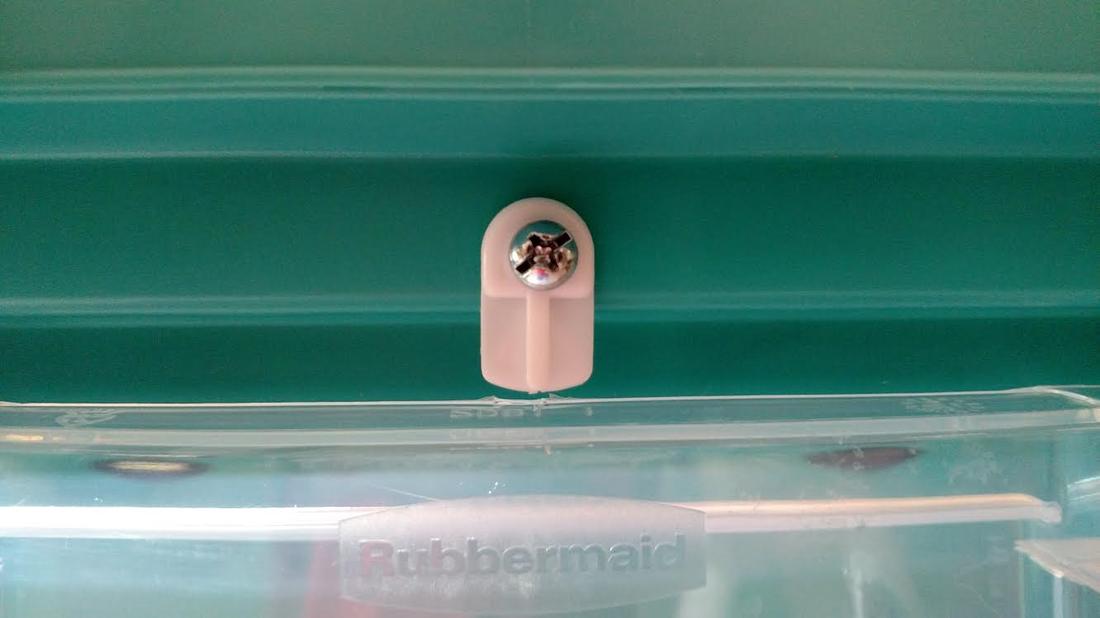
I went ahead and installed locks on my units for added security. To do this I merely installed a window screen clip to prevent the door from sliding up into the unlocked position. The clip can easily be turned sideways in order for the door to properly operate. The screws that came with the clips were too long and pointy for my liking so I opted to use #8-32 x 3/8" Bolts instead. I then predrilled a hole using a 3/16" drill bit and installed the clip. Be careful not to tighten your bolts too much as it will prevent the lock from being able to swivel.
|
|
Power Supply
|
I purchased a DC 12V 5 Amp Power Supply with an 8-Split Power Cable on E-Bay for around ten bucks. I chose to run individual cords from my power supply to each container. You could also choose to link each unit to one another but I wanted to be able to unplug one unit without interrupting the power supply to my other units. I used 3 meter length Extension Power Cables and wove them through my rack. This allowed me to install the power supply at the base of the rack.
|

|
Additional Modifications
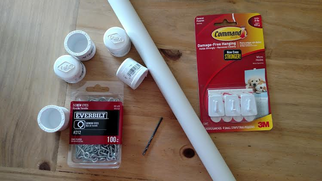
Now that your vents, lighting, and locks are installed your units should be complete. Depending on your target species you may want to make additional modifications. I decided that I wanted to add a few PVC branches in each one of my enclosures. To complete this modification I used the following supplies.
Supplies Per Unit:
Supplies Per Unit:
- 4 – Command 3M Micro Hooks
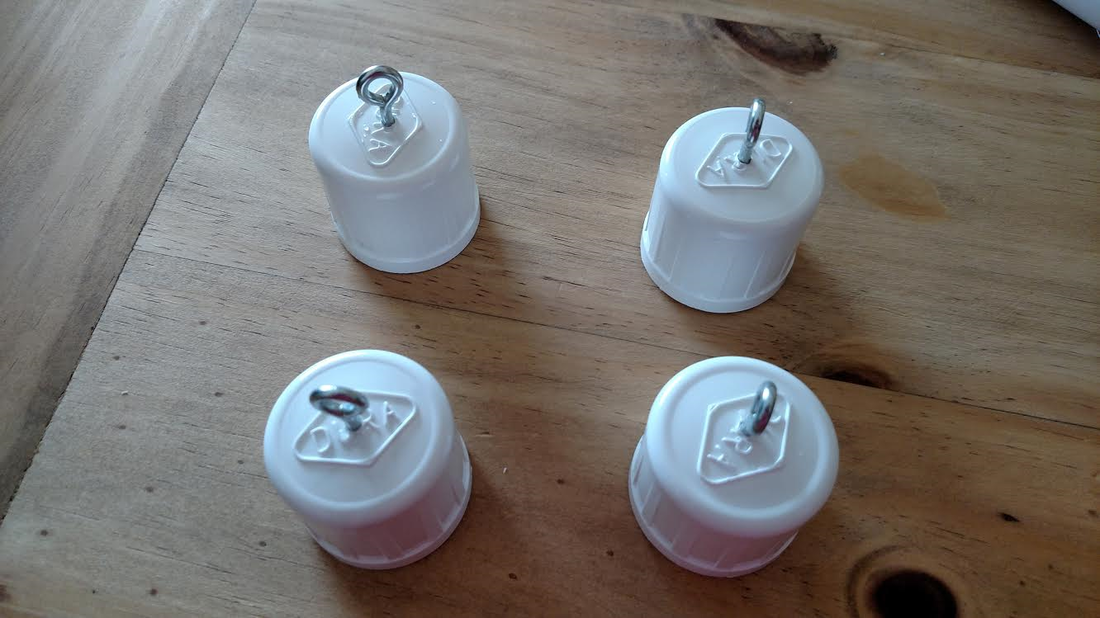
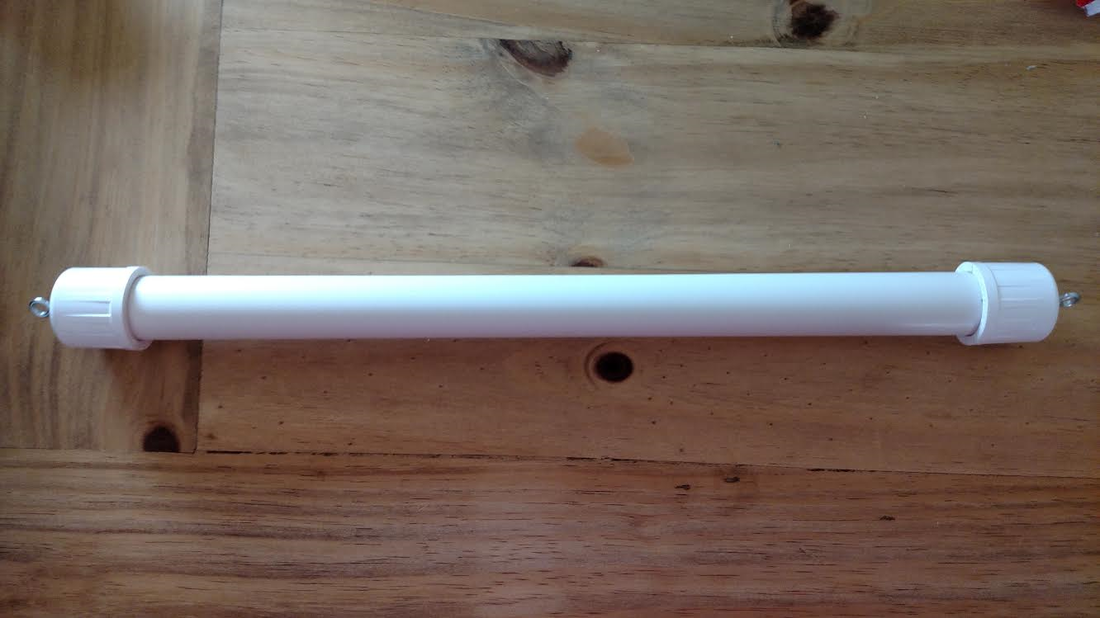
- 4 - #212 Eye Screws
- 4 – ¾” PVC End Caps
- 36 – Inches of ¾” Schedule 40 PVC
- 36 – Inches PVC Foam Insulation
|
|